Osiris, SG1 in the works

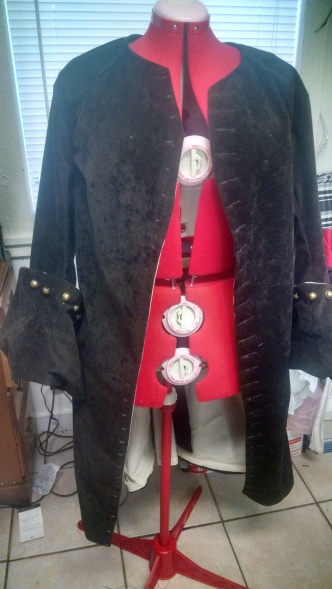
I started on my Kara Kesh several weeks ago, but have only just started on the Osiris white outfit.

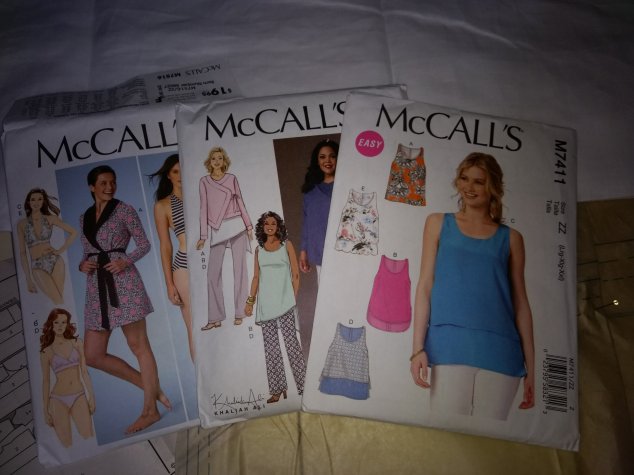
The robe pattern will be lengthened to floor length and will be made of linen. As I didn’t have enough linen fabric, I’ll be getting an sturdier fabric for the pants and top. I don’t foresee the pants or top patterns needing alteration.

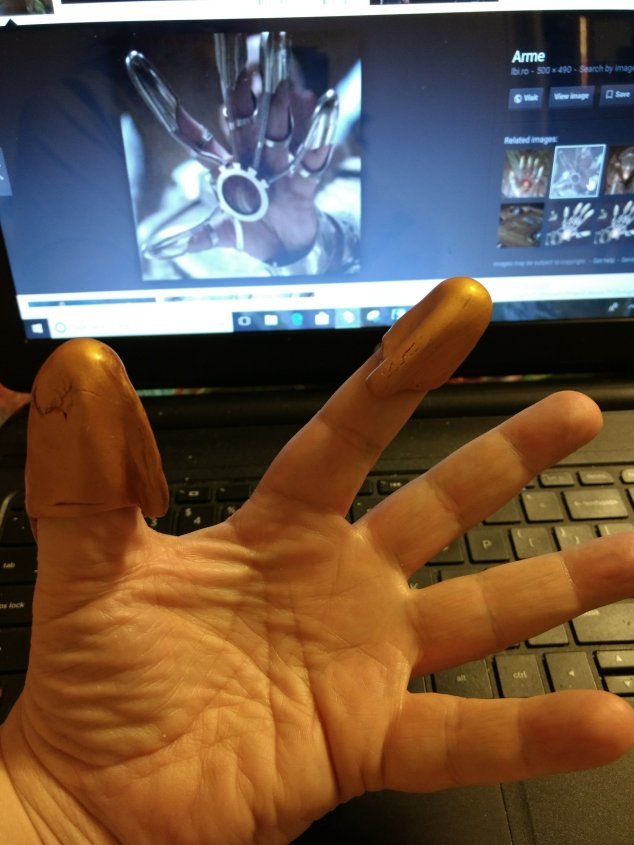
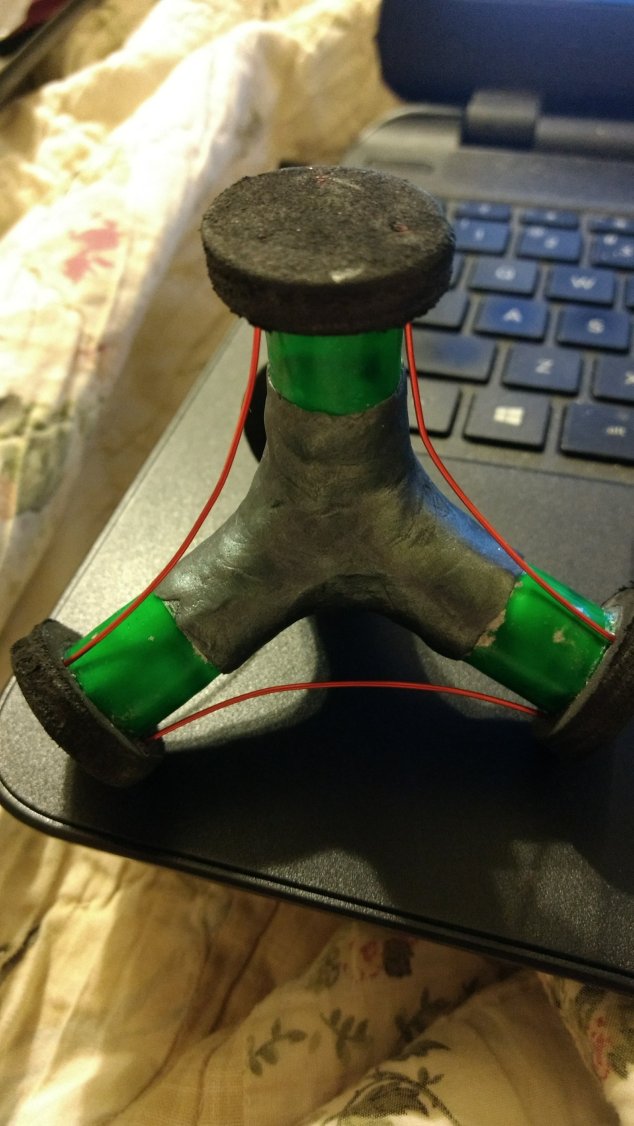
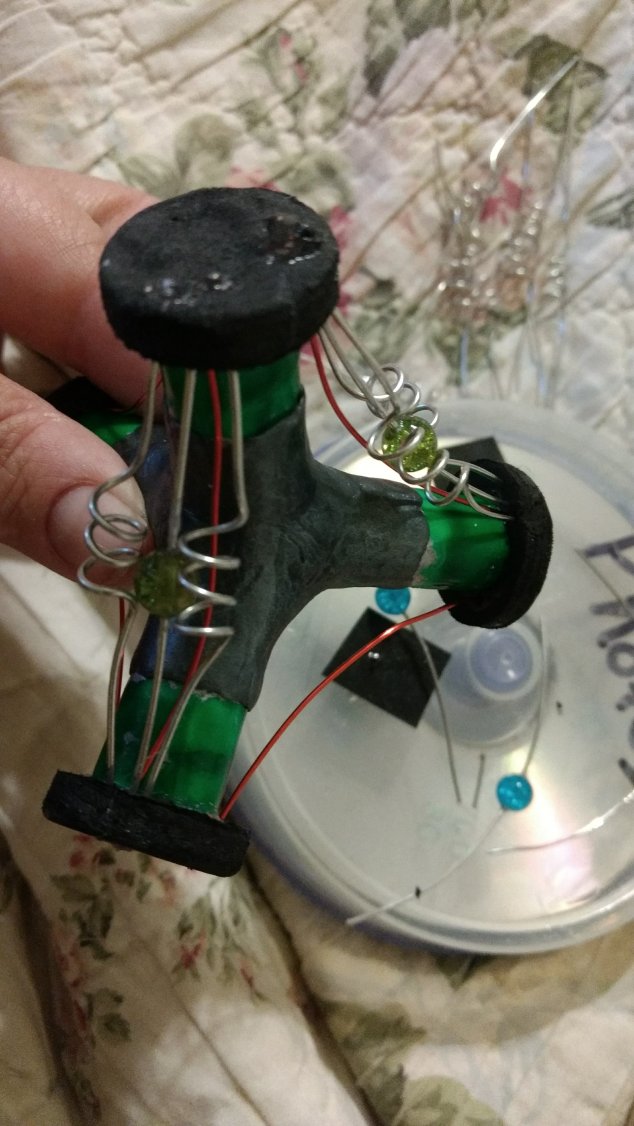
The Kara Kesh is probably the most important part of the costume.

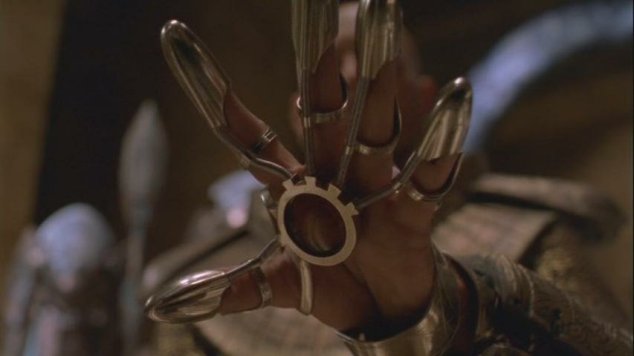
I’ve been molding Kato clay and will be using a sheet of copper, a dead USB cable and a repurposed led light.

Bath fizzies

I’ve been collecting the ingredients and forms for these for several months and I finally made my first bath fizzies.

Recipe:

1 Cup Sodium bicarbonate or baking soda

1/2 Cup Citric acid

1/2 Cup Corn Starch

1/2 Cup Epsom salt

1.5 Tablespoons avocado oil

About 4ml lemon essential oil (per Trystan’s request)

Yellow food coloring

Round molds

Witch hazel (about 1.5 tablespoons)

And I made a mess! I spilled the corn starch all over my clothes, but the fizzies worked great and have a subtle fragrance in the tub.

Dematerialisation Circuit, take 3

This is now finished! Check out the completed prop!

So many issues with this prop! Each of the “legs” is filled with adhesive.

Then, due to the extreme messiness where the legs connect with the marble, I had to come up with a way to smooth it all out. My solution was to add an epoxy where there was silver spray paint. The epoxy I chose did not require curing in an oven, unlike FIMO, but cured in the open air over 24 hours.

That had the added bonus of providing additional support for the legs and their connection to the marble.

Once the EVA foam was cut out and adhered to the legs, the only other item was adding the wiring and beads.

Dematerialization Circuit, take 2

I was very unhappy about how the DC was looking, so I cut off several centimeters off each arm. I also changed my adhesive (again). But I did attach the black bits to the green and silver arms. I’ll have to touch up the silver paint, but after that, all that’s left is adding the wire bits and bobs.

Dematerialization Circuit now in progress

I just had to make one of these since they appeared on a new episode of Doctor Who. This version will be the smaller one but I do plan on making the larger circuit from Classic Who.
The middle is a shooter marble. The arms will be made from small storage tubes, trimmed to 4 cm roughly.

So far, I’ve trimmed the tubes and dipped them in transparent glass paint.

The tubes now have 4 coats of paint on them. Rather than using a brush, I opened the bottle and gently dipped each end.

The paint has cured and has now been glued to the shooter marble with E6000.

The next step will be to decide if I want to add LED lights and taping the edges in prep for the silver paint. 
Sources

Small plastic tubes – Hobby Lobby

Marble – Hobby Lobby

Stained glass transparent paint – Amazon

Handmines

I recently decided that it would be interesting to make some Handmines, from The Magician’s Apprentice episode of Doctor Who.

screen-shot-2015-09-22-at-7-18-32-am

I started with some rubber dishwashing gloves, stuffed them with fiberfill, applied multiple coats of Rust-Oleum® American Accents® Stone Spray, and will be giving it an eye.